

Ecommerce Automation: Automate Customer Group Assignment in Medusa

In ecommerce, customer segments refer to groups of customers with similar characteristics, such as demographics, behavior, and needs. Identifying and understanding these segments can be crucial for businesses, as it allows them to tailor their marketing and sales efforts to specific groups of customers. This can lead to increased customer satisfaction, higher conversion rates, and ultimately, more revenue.
In this tutorial, you’ll learn how you can automatically assign customer groups to a new customer using subscribers and events. In addition to that, you’ll also learn how you can remove the customers from a customer group based on a different event.
Here is a quick demo of what you're going to build in this tutorial:
You can find the code for the tutorial in this repository.
What are Customer Groups?
Customer groups allow you to classify customers based on shared characteristics, such as buying patterns, location, or any other criteria that align with your business strategy. You can then assign different discounts or pricing based on the customer groups.
Some common customer segments in ecommerce include age or location.
It's important for ecommerce businesses to identify their target customer segments and to understand their needs and preferences. This information can be used to develop effective marketing strategies, such as targeted advertising and personalized promotions, and to optimize the customer experience on the website.
What is Medusa?
Medusa is an open source, composable commerce platform designed for developers. It has a flexible architecture that allows users to create bespoke commerce solutions. The platform has three components: a headless backend built with Node.js, an admin dashboard, and a storefront.
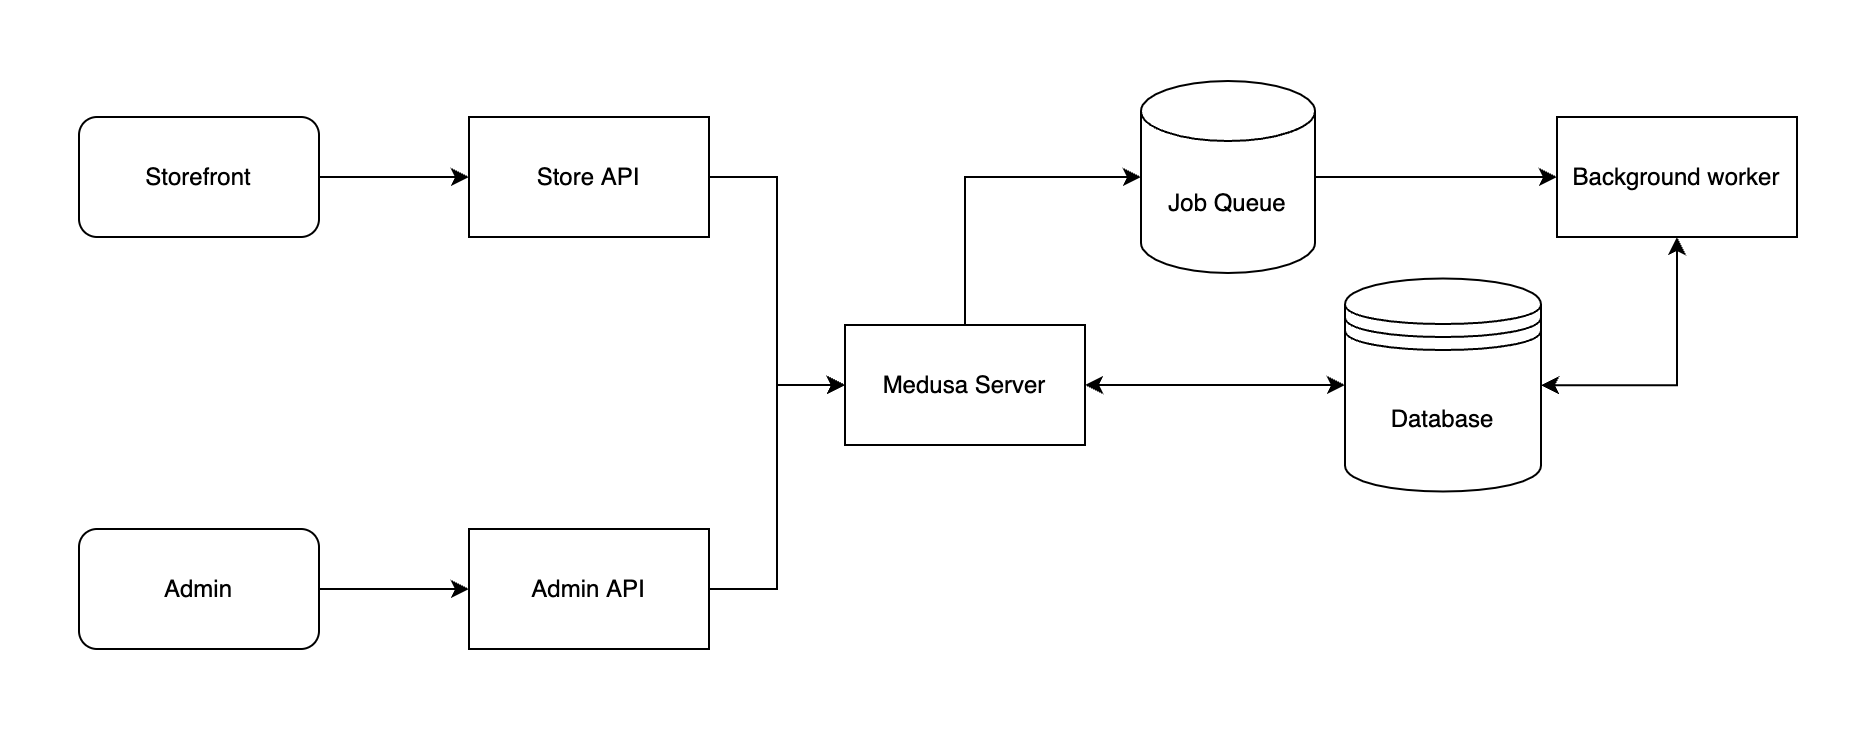
The highly extensible architecture enables developers to easily create custom features, such as automating customer group assignments and integrating ChatGPT to automate writing product descriptions. The concepts like Subscribers and Events architecture in Medusa makes it fairly simple to extend the store capabilities.
Prerequisites
Before you get started with the tutorial, you should have installed:
Redis: Used by Medusa to handle the event queue.
Setting up Medusa Server
In this section, you’ll set up your Medusa server where you’ll implement the automation customer group functionality.
Create a new Medusa store called my-medusa-store and seed the test data using the following command:
medusa new my-medusa-store --seed
Then, start your Medusa server using the following command:
cd my-medusa-store
medusa develop
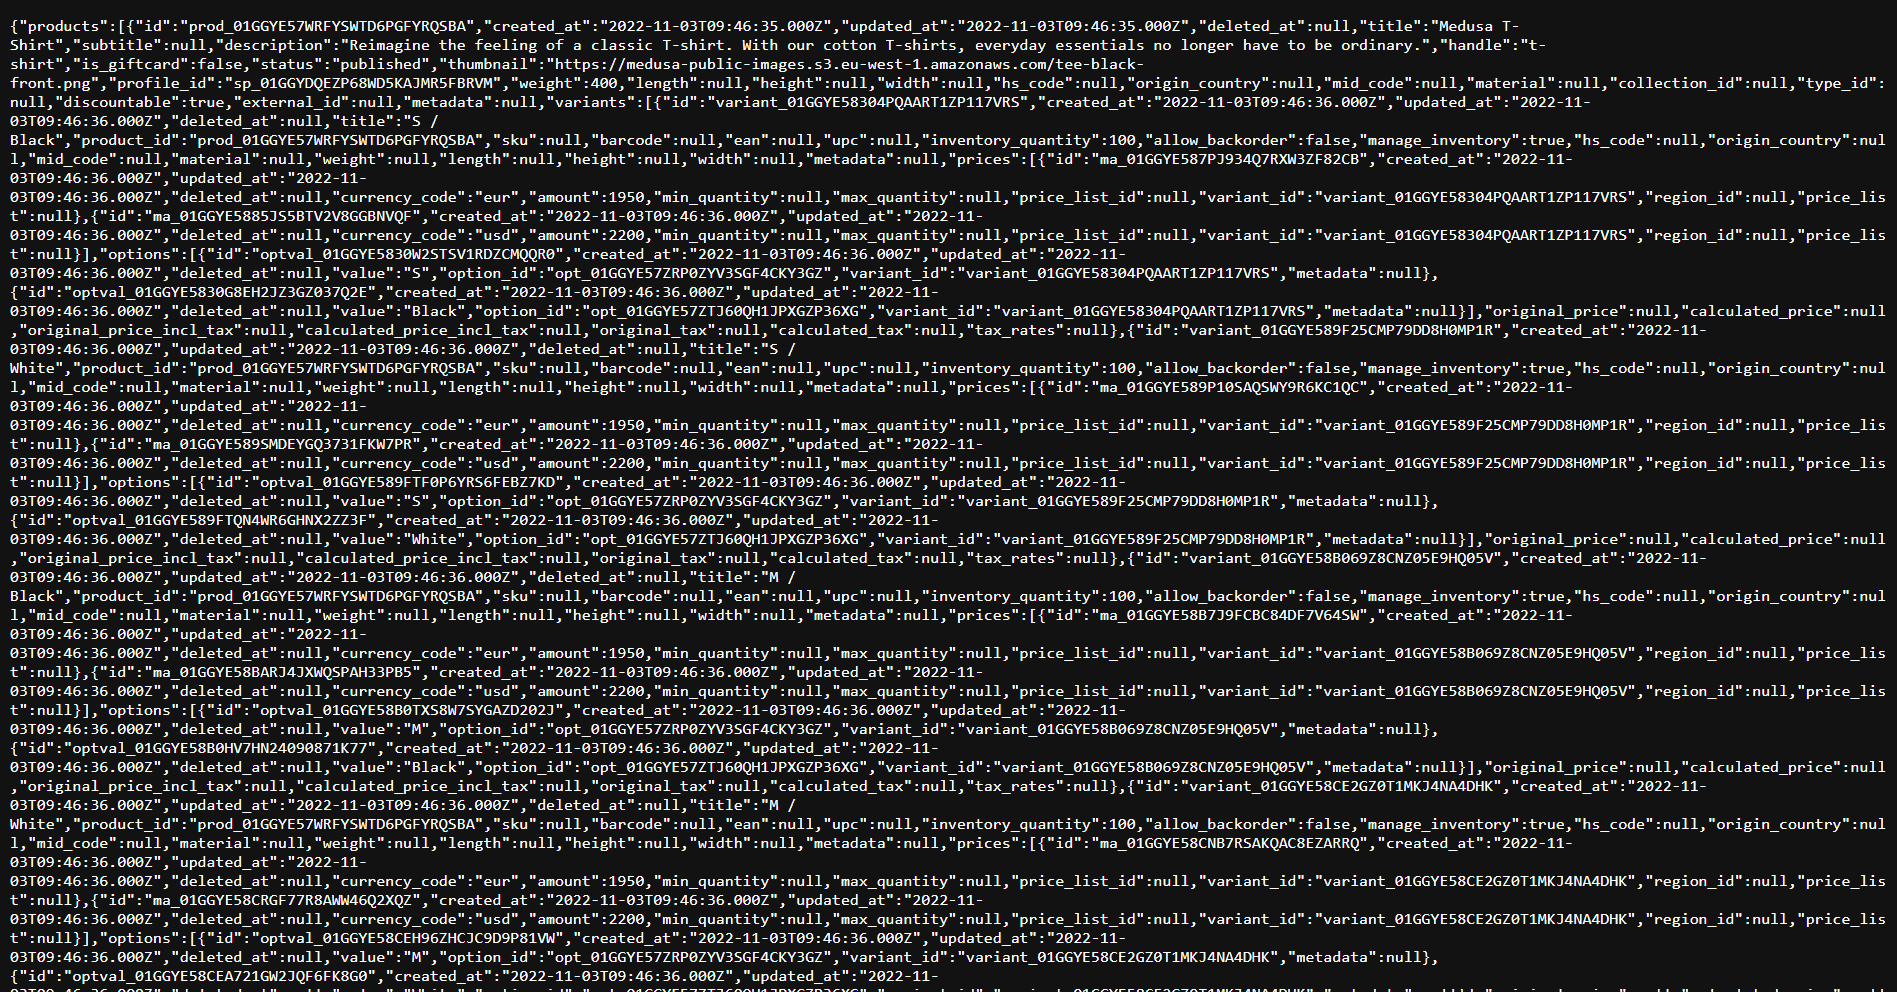
The above two steps take a couple of minutes to set up and run your server on port 9000. You can test your server by going to http://localhost:9000/store/products on your browser or by running the following command:
curl localhost:9000/store/products
If your server is successfully set up, you will see a list of products and other details as below:
Automating Customer Group Assignment
This section will guide you in creating a subscriber that triggers upon the customer.created event. The event is emitted when a new customer registers for an account. Upon registration, the customer will be added to a "New Customers" customer group.
Since you’re going to create a subscriber in your Medusa server, make sure you enable Redis in the medusa-config.js:
module.exports = {
  projectConfig: {
    redis_url: REDIS_URL, // Enable Redis Here
        //...
  },
  plugins,
};
Create a customerGroupAssignment.ts file inside src/subscribers directory in the Medusa server and add the following code snippet:
import { CustomerGroupService, EventBusService } from "@medusajs/medusa"


type InjectedProperties = {
  eventBusService: EventBusService
  customerGroupService: CustomerGroupService
}


class CustomerGroupAssignmentSubscriber {
  private customerGroupService: CustomerGroupService

  constructor(properties: InjectedProperties) {
    this.customerGroupService = properties.customerGroupService;

    properties.eventBusService.subscribe("customer.created", this.handleGroupAssignment);
  }

  handleGroupAssignment = async (customer) => {

    let customerGroup;

    // Check if "New Customers" customer group exists
    let customerGroupList = await this.customerGroupService.list({ name: "New Customers" }, { take: 1 });

    // If it doesn't exist, create it
    if (!customerGroupList.length) {
      customerGroup = await this.customerGroupService.create({ name: "New Customers" });
    } else {
      customerGroup = customerGroupList[0];
    }

    // Add customer to "New Customers" customer group
    await this.customerGroupService.addCustomers(customerGroup.id, customer.id);
  }
}

export default CustomerGroupAssignmentSubscriber;
The above code defines a class called CustomerGroupAssignmentSubscriber, which is used to assign customers to a group called "New Customers" when they are created.
The class has a constructor method, which takes an object called properties as its parameter. The properties object has two properties: eventBusService and customerGroupService. The eventBusService, in this case, helps you run the subscriber when the customer.created event happens. These are used to instantiate the EventBusService and CustomerGroupService classes respectively.
The constructor uses the subscribe method to register a callback function handleGroupAssignment with the customer.created event. This function executes every time the customer.created event fires.
The handleGroupAssignment function is asynchronous and takes one parameter, customer. This parameter contains the data of the customer who just registered.
The function first checks if the "New Customers" group already exists by calling the list method on the customerGroupService object and passing in the group name as a filter. If the group does not exist, it creates the group by calling the create method on the customerGroupService object. If it exists, it assigns the group to a variable.
Finally, it adds the customer to the "New Customers" group by calling the addCustomers method on the customerGroupService object and passing in the group id and customer id as arguments.
Note: Learn about the different methods defined in the
CustomerGroupServiceclass here.
Next, you’ll need to run the following command to build your project:
npm run build
Next, you can restart your server using the command:
medusa develop
Setting up the Medusa Storefront
Since you’ve created the functionality to add customers to the “New Customers” group automatically, you can test it by registering a new customer. While you can use the Store APIs to create a customer, you’ll use the Medusa Storefront to do it.
Medusa provides two storefront starters: one using Next.js and the other using Gatsby. In this tutorial, you’ll set up the Next.js storefront.
Create a new Next.js project using the Medusa starter template:
npx create-next-app -e https://github.com/medusajs/nextjs-starter-medusa my-medusa-storefront
Next, change to the newly created directory my-medusa-storefront and rename the template environment variable file to use environment variables in development:
cd my-medusa-storefront
mv .env.template .env.local
Finally, Make sure the Medusa server is running, then run the storefront:
npm run dev
Setting up the Medusa Admin
You can verify the customer creation either through the REST APIs or by setting up the Medusa Admin. Since you’ll use the Admin later as well, you’ll set up the Medusa Admin in this section.
Before you set up the Medusa Admin, make sure your Medusa server is running.
Start by cloning the Medusa Admin GitHub repository and change your path to the cloned directory:
git clone https://github.com/medusajs/admin my-medusa-admin
cd my-medusa-admin
Then, install the dependencies using the following command:
npm install
Once all the dependencies are installed, run the Admin server using the following command:
npm run start
The Medusa Admin runs on port 7000, so go to http://localhost:7000 in your browser to open your Admin Panel.
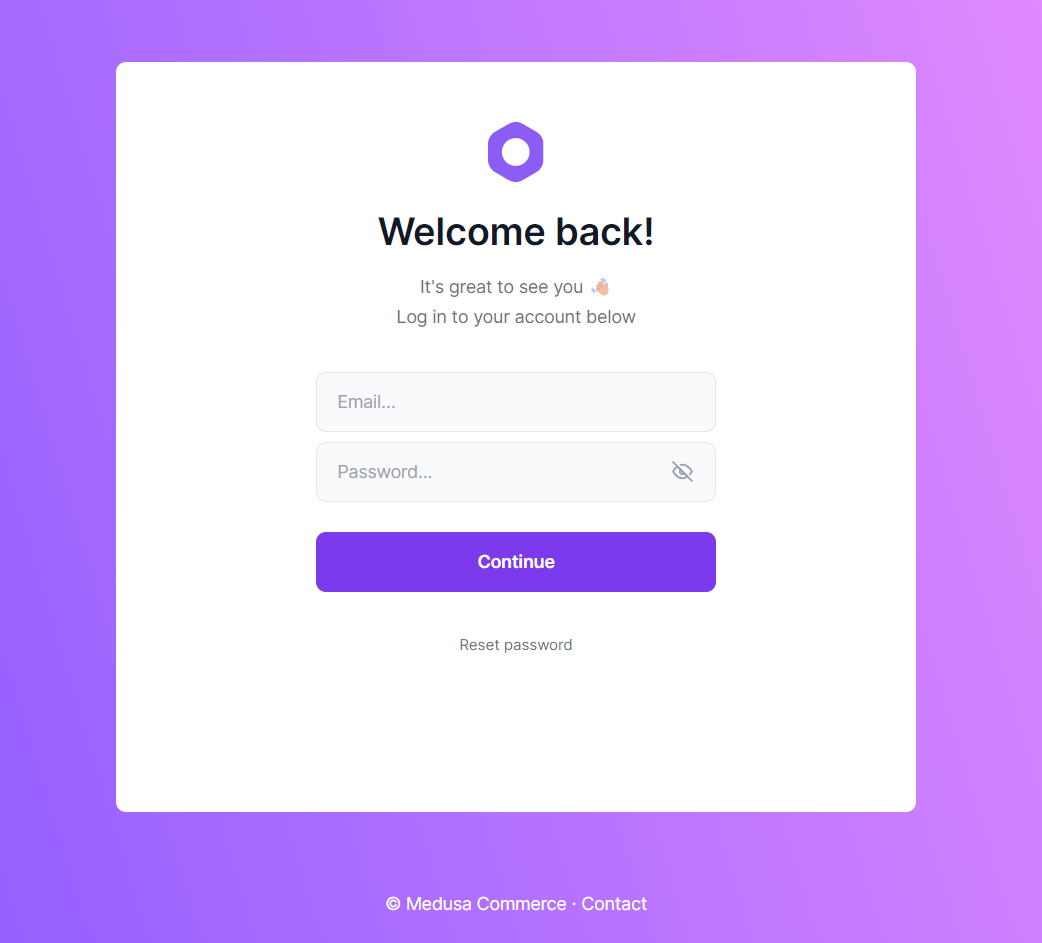
Since you’ve already seeded the data in your Medusa server, you can use the email admin@medusa-test.com and password supersecret to log in.
Testing the functionality
Now that you have set up the Storefront, you can register a new customer. Here’s a quick demo showing the same:
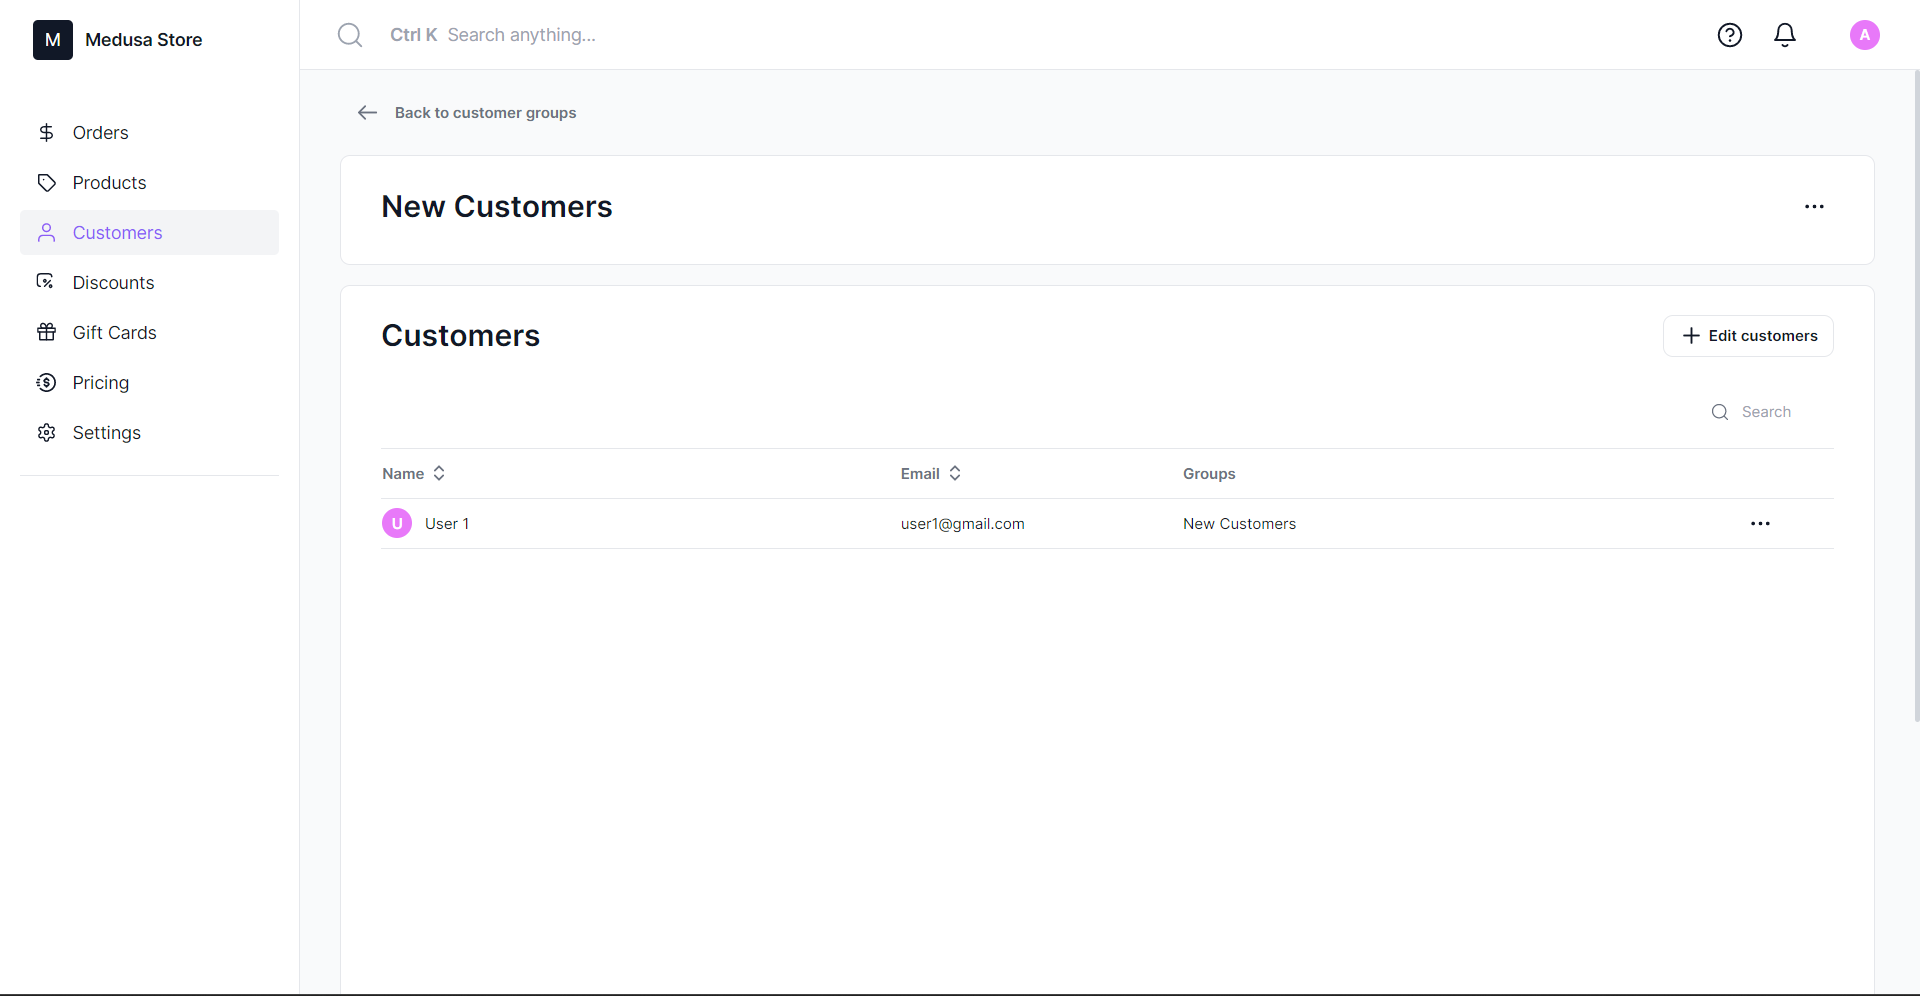
You can verify the newly created customer in the Customers section in the Medusa Admin as below:
Adding New Discount Code for “New Customers”
Now that you have the functionality to add customers to the “New Customers” group automatically, you can add different marketing strategies for this customer group.
In this section, you’ll create a discount code using Medusa Admin. The discount code will be applicable only to customers in the “New Customers” group. Additionally, the code will only be applicable on their very first order. Even if the customers don’t apply the discount code on their first order, the code won’t be applicable to subsequent orders.
Although you can create the discount code programmatically, since you’ve already set up the Medusa Admin, you’ll create it using the Admin in this tutorial.
Creating the discount code
Follow the steps to create a discount code “NEW20” that gives a 20% discount on all products for new customers.
Login to the Medusa Admin Dashboard.
Click on Discounts in the left sidebar.
Click on the Add Discount button.
Enter the general information such as the valid regions, code, etc.
Click on Conditions and add a condition by choosing “New Customers” in the customer group.
Click on Publish discount to publish the discount code.
Automating Customer Group Removal
In this section, you’ll implement the functionality to remove the customers from the “New Customer” customer group when an order.placed event is emitted. When the customer successfully places their first order, it is removed from the “New Customers” group, regardless of whether they’ve used the discount code or not.
Create a customerGroupRemoval.ts file inside src/subscribers directory in the Medusa server and add the following code snippet:
import { CustomerService, CustomerGroupService, EventBusService, OrderService } from "@medusajs/medusa"


type InjectedProperties = {
    eventBusService: EventBusService
    customerGroupService: CustomerGroupService
    customerService: CustomerService
    orderService: OrderService
}


class CustomerGroupRemovalSubscriber {
    private customerGroupService: CustomerGroupService
    private customerService: CustomerService
    private orderService: OrderService

    constructor(properties: InjectedProperties) {
        this.customerGroupService = properties.customerGroupService;
        this.customerService = properties.customerService;
        this.orderService = properties.orderService;

        properties.eventBusService.subscribe("order.placed", this.handleGroupRemoval);
    }

    handleGroupRemoval = async (data) => {

        // Retrieve the order by id
        const order = await this.orderService.retrieve(data.id);

        // Retrieve the customer associated with the order and its groups
        const customer = await this.customerService.retrieve(order.customer_id, { relations: ["groups"] });

        // Check if the customer is in the "New Customers" group
        const customerInGroup = customer.groups.find(group => group.name === "New Customers");

        // If the customer is in the "New Customers" group, remove it
        if (customerInGroup) {
            await this.customerGroupService.removeCustomer(customerInGroup.id, [customer.id]);
        }
    }
}

export default CustomerGroupRemovalSubscriber;
The above code creates a class called CustomerGroupRemovalSubscriber, which removes customers from the "New Customers" group when they place an order.
The class has a constructor function, which takes an object called properties as its input. The properties object has four properties: eventBusService, customerGroupService, customerService, and orderService. The eventBusService , in this case, helps you run the subscriber when the order.placed event happens. The other three properties are used to create instances of the CustomerGroupService, CustomerService, and OrderService classes, respectively.
The constructor function uses the subscribe method to register a callback function handleGroupRemoval with the order.placed event. This function will execute every time the order.placed event emits.
The handleGroupRemoval function is asynchronous and takes one parameter, data. This parameter holds the id of the order that was placed.
The function first retrieves the order by id by calling the retrieve method on the orderService object and passing in the order id as an argument. Then it retrieves the customer associated with the order by calling the retrieve method with the customer id on the customerService object. Additionally, it also retrieves the groups the customer is associated with by passing the { relations: ["groups"] } as an argument.
Next, it checks if the customer is in the "New Customers" group by calling the find method on the customer.groups and checking if the name is "New Customers".
If the customer is in the "New Customers" group, it removes it by calling the removeCustomer method on the customerGroupService object and passing in the group id and customer id as arguments.
Note: Learn about the different methods and their parameters defined in the
OrderServiceclass here andCustomerServiceclass here.
Next, you’ll need to run the following command to build your project once again:
npm run build
Finally, you can restart your server using the command:
medusa develop
Testing the functionality
You’ll need to place an order using the Medusa storefront in order to test the customer group removal functionality. While placing the order, you can also check if you’re able to apply the “NEW20” discount code.
Here’s a quick demo showing the same:
Conclusion
Customer segmentation is a crucial aspect of any business strategy as it allows companies to better understand and target their customer base.
In this article, you learned how to use subscribers to automate the process of customer group assignment and removal based on different events.
This implementation was possible because of Medusa’s composable architecture. You can learn more about Medusa through its documentation. Here are some documents that you can start with:
Should you have any issues or questions related to Medusa, then feel free to reach out to the Medusa team via Discord.


